Clouds are fascinating and constantly changing subjects that can add mood, drama, and beauty to your photographs. Whether you’re an amateur or professional photographer, understanding how to capture clouds effectively can elevate the quality of your images. This guide covers essential aspects such as weather conditions, using a polarizing filter, and mastering graduated neutral density filters. You’ll also learn about exposure length, composition techniques, and post-processing tips to make your cloud photos stand out. So let’s dive into the art of cloud photography and unlock your ability to capture stunning sky scenes.
1) Weather Conditions
Understanding weather conditions is crucial for successful cloud photography. Different types of clouds form under various weather scenarios, each offering unique photographic opportunities. For example, cumulonimbus clouds appear during thunderstorms and provide dramatic, towering structures in the sky. On the other hand, cirrus clouds are wispy and delicate, often indicating fair weather but still adding a touch of texture to your photos.
Always check the weather forecast before planning your shoot. Websites and apps dedicated to weather tracking can give you an idea of the cloud activity expected in your area. Being aware of the golden hour (the first hour of light after sunrise and the last hour of light before sunset) can also significantly impact your image quality. During these times, clouds are often bathed in a warm, soft light that enhances their form and color.
2) Polarizing Filter
A polarizing filter is a handy tool for cloud photography. It helps to reduce glare and reflections, making the sky appear more saturated and vibrant. This filter can enhance the contrast between the clouds and the sky, making your photos appear more dramatic and visually appealing.
To get the best results with a polarizing filter, attach it to your camera lens and rotate it while looking through the viewfinder or at your live screen. You’ll notice changes in the sky’s appearance as the filter adjusts the polarization of the light. Typically, the effect is most pronounced when shooting at a 90-degree angle to the sun. Experiment with different angles to find the most striking effects for your specific scene.
3) Graduated Neutral Density Filter
Graduated Neutral Density (GND) filters are essential for balancing the exposure between the sky and the ground, especially during sunrise or sunset. These filters have a gradient that transitions from dark to clear, allowing you to reduce the brightness of the sky while maintaining the exposure of the landscape.
Using a GND filter can help you avoid blown-out skies and preserve details in both the clouds and the foreground. To use it effectively, place the darker part of the filter over the sky and the clearer part over the landscape. Pay attention to the position of the horizon and ensure that the gradient line matches the natural horizon. This setup equilibrates the exposure, rendering both elements in the scene clear and balanced.
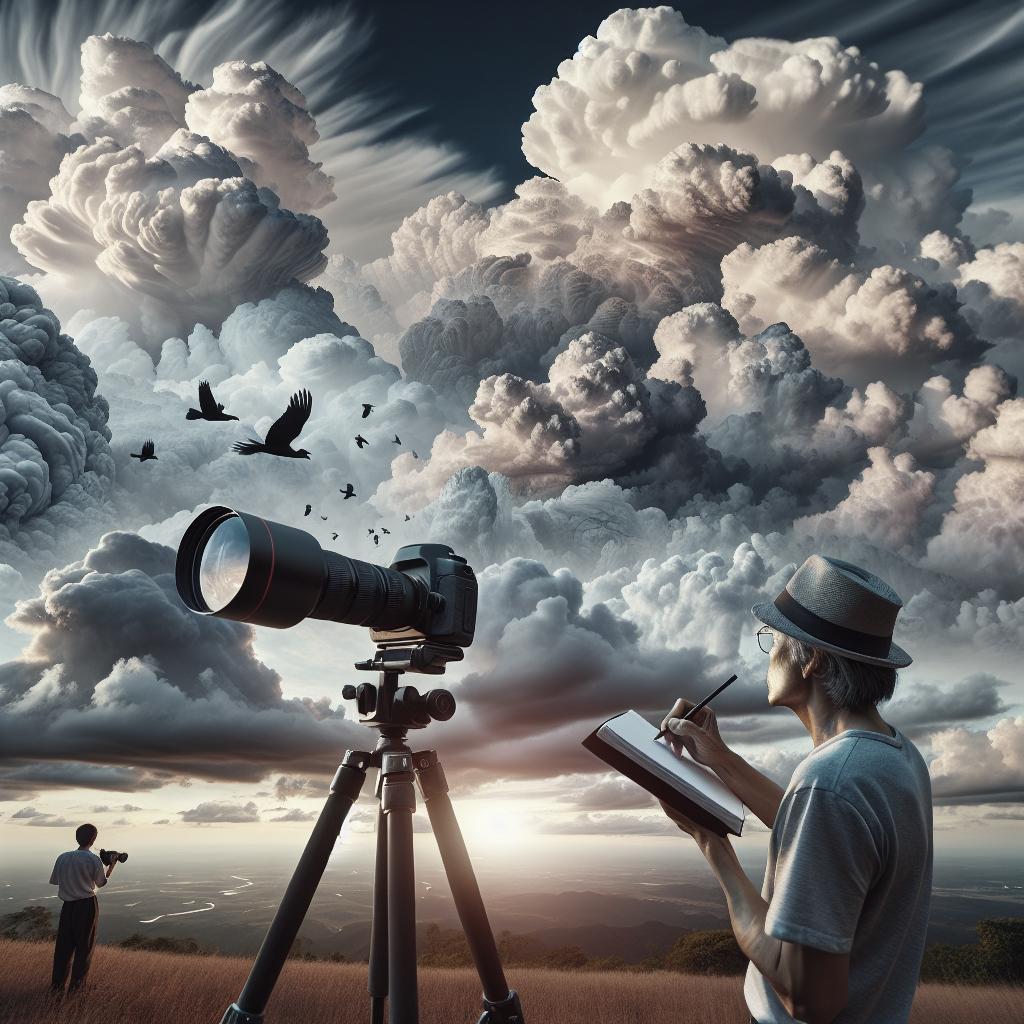
4) Exposure Length
Exposure length plays a significant role in cloud photography. Short exposure times can freeze the movement of clouds, capturing their shapes in crisp detail. This approach is useful for capturing dramatic storm clouds or well-defined cloud formations.
Conversely, using long exposure times can create a dreamy, ethereal effect by smoothing out the clouds’ movement across the sky. This technique works best with a sturdy tripod to eliminate camera shake. To achieve long exposures, use a neutral density filter to reduce the amount of light hitting the camera sensor, allowing you to lengthen your shutter speed without overexposing the image. Experiment with different exposure lengths to find the style that best conveys your artistic vision.
5) Composition
Composition is a key element in cloud photography that guides the viewer’s eye and creates a balanced image. One of the classic composition techniques is the rule of thirds, which involves dividing your frame into nine equal parts using two horizontal and two vertical lines. Placing your cloud elements along these lines or at their intersections can create a more dynamic and engaging composition.
Additionally, consider the foreground and background elements in your photograph. Including features like mountains, trees, or buildings can add context and scale to your cloud images. Using leading lines, such as roads or rivers, can guide the viewer’s gaze towards the clouds, enhancing the overall composition. Experimenting with different perspectives and angles can also offer fresh and unique cloud photographs.
6) Post-Processing
Post-processing can significantly enhance your cloud photographs, emphasizing the textures and tones that might not be fully captured in-camera. Software like Adobe Lightroom or Photoshop provides powerful tools for enhancing cloud images. Basic adjustments such as increasing contrast and clarity can help define the clouds and make them pop.
Advanced techniques involve adjusting the levels and curves to fine-tune the brightness and dark areas of your images. Dodging and burning can selectively lighten or darken areas, adding depth and dimension. Applying selective color adjustments can also help in bringing out subtle hues in the sky, giving your photos a vivid and dramatic flair. Always aim for a natural look, unless you’re working with a specific artistic vision that calls for more drastic edits.
Related Articles
For further reading on topics related to cloud photography, consider checking out the following articles:
- The Best Lenses for Landscape Photography
- Mastering the Art of Long Exposure Photography
- How to Use Filters in Landscape Photography
- Introduction to Lightroom for Beginners
Final Thoughts
Photographing clouds can be a deeply rewarding pursuit, offering endless opportunities for creativity and expression. By understanding and implementing techniques related to weather conditions, filters, exposure lengths, composition, and post-processing, you can capture stunning cloud images that evoke emotion and appreciation from viewers. Remember to experiment and find your unique style, and most importantly, enjoy the process of capturing the ever-changing beauty of the skies.
| Topic | Summary |
|---|---|
| Weather Conditions | Different weather creates various cloud types; check forecasts and consider the golden hour for optimal lighting. |
| Polarizing Filter | Enhances sky contrast and color; most effective at a 90-degree angle to the sun. |
| Graduated Neutral Density Filter | Balances exposure between sky and ground; essential for sunrise and sunset shots. |
| Exposure Length | Short exposure for crisp details or long exposure for dreamy, smooth effects; a tripod is recommended. |
| Composition | Use the rule of thirds, include foreground elements, and experiment with perspectives for dynamic images. |
| Post-Processing | Enhance photos using software to adjust contrast, clarity, and colors, aiming for a natural look. |